
How do I upload a Photo?
Updated 2024-04-16
The steps for uploading a post vary, depending on the Events Plan.
Scroll down till you see the add ‘+’ button, and click it.
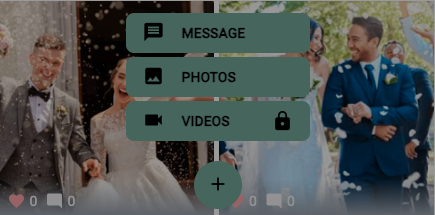
A menu popup will display a number of post options, such as Photos and Message.
Click the ‘Photos’ button, as shown below.
Continue as Guest
- A new menu is displayed. If the Host has selected a Premium or Premium Plus plan, the following screen will be displayed.
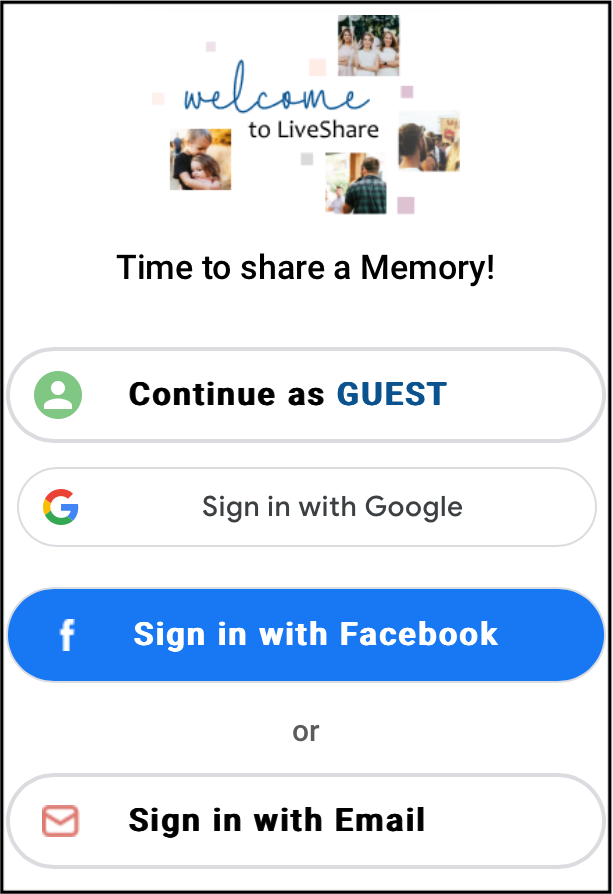
If you see the ‘Continue as Guest’ button at the top, click it.
In the ‘Guest Login’ popup, enter any name or nickname and click ‘Continue’. This identifies who has uploaded the photo, so others can add a comment.
Click ‘Post Photo’ and select a photo to upload.
Sign In or Create Free Account
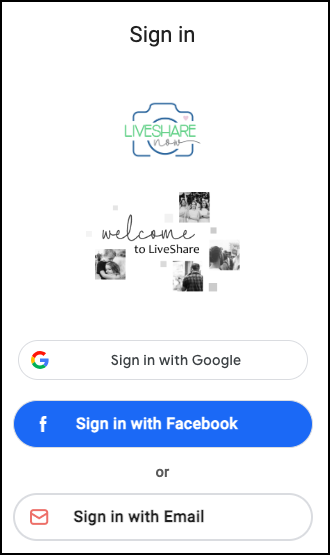
On the Trial and Standard plans, the ‘Continue as Guest’ button won’t be displayed. The following ‘Sign In’ screen will be displayed.
Sign In
If you have already created a free LiveShare account, click ‘Sign in with Email’. Enter your email address and password for your LiveShare account.
Continue to select and upload photos.
Create Free Account
If you have not created a free LiveShare account, click HERE to create a free account.
Click ‘Sign up with Email’, enter your Name, Email and a Password and click ‘Sign Up’.

Check your email for a LiveShare confirmation email, and reply to confirm.
You can now upload photos. Click the add ‘+’ button, and then the ‘Photos’ button, as shown above.