
Customize your free Trial Event
Updated 2024-04-16
We’ll review the ten options which you can enable/disable in your free Trial Event. Click the Settings cogwheel icon to view and edit these settings.

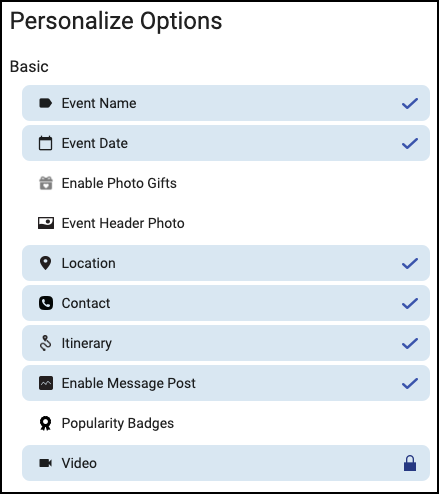
When you first created an Event, you selected an Event Type, Event Name and Event Date. The first two settings are the Event Name and Date, as shown below. They are displayed in the bottom left.
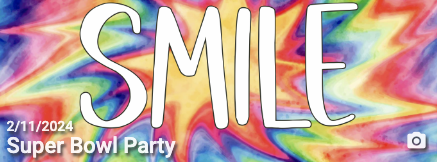
1- Event Name - Click/tap on ‘Event Name’ to edit the Name. Click/tap on the checkmark to deactivate the setting so the name isn’t displayed. Click/tap to activate the setting so the name is displayed.
2- Event Date - Click/tap on ‘Event Date’ to edit the Date. Click/tap on the checkmark to deactivate the setting so the date isn’t displayed. Click/tap to activate the setting so the date is displayed.
3- Enable Photo Gifts - This feature allows your guests to purchase a gift, using a selected photo. Gifts include mugs, rugs, puzzles, and a variety of prints. Click here for more information on Photo Gifts.
4- Event Header Photo - When you first created your Event, you selected one of the default photos, such as the Smile photo above. To add a custom photo click on ‘Event Header Photo’ to enable the setting. Then click ADD to select to upload your custom photo, and click SAVE. Note the photo should be close to 1024x500 pixels.
5- Location - Enter your event’s location or address. Click the checkmark to disable this field. You can also edit this field on your Event page by clicking the LiveShare logo or ‘Details’ to view/edit the Location, Contact and Itinerary.
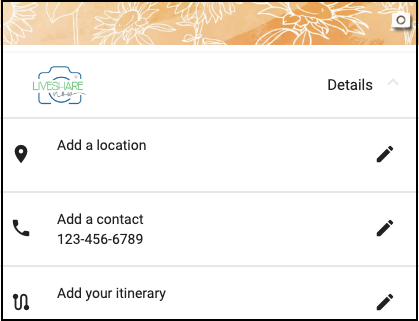
6- Contact - Enter your event’s contact info (phone, email, etc.). Click the checkmark to disable this field. You can also edit this field on your Event page by clicking the LiveShare logo or ‘Details’ to view/edit the Location, Contact and Itinerary.
7- Itinerary - Enter your event’s itinerary. Note you can add additional lines. Click the checkmark to disable this field. You can also edit this field on your Event page by clicking the LiveShare logo or ‘Details’ to view/edit the Location, Contact and Itinerary.
8- Enable Message Post - This feature allows a guest to upload a (text) message, without uploading a photo. When this setting is enabled, guests will ‘Message’ as an option when they click the plus (+) button to upload. A default photo will be attached.
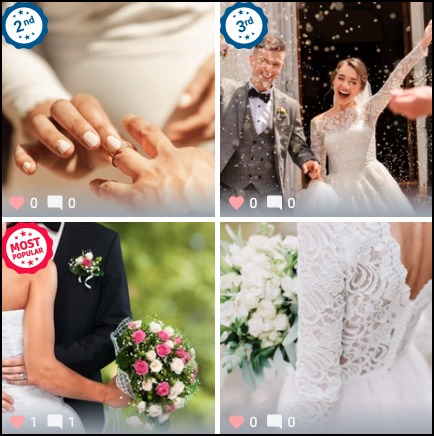
9- Popularity Badges - Enabling this setting will track and display the three most viewed photos in your timeline, as shown below.
10- Video - Video posting is included in the Premium Plus plan. On other plans the Video setting shows a lock icon. See Can I upload videos?.
